One of the most important aspects of my workflow is deciding whether or not to finish an image off in color or in black and white. This can be a challenging question most of the time, but for the most part is up to your own artistic choice.
How I Choose When to Use Black and White
I know, an artistic choice is incredibly subjective and what would really help is some useful guidelines that you can use. Here’s my take on when to use black and white for your photo.
I will usually convert and image to black and white when the light, the textures, or the subject is more important that the color of the image. In short, when the color of an image is taking away from the subject matter, use black and white.
Furthermore, if an image has a very good tonal contrast i.e. very clear distinction between the brightest parts of the image and the darkest parts, it will usually also be a good candidate for black and white.
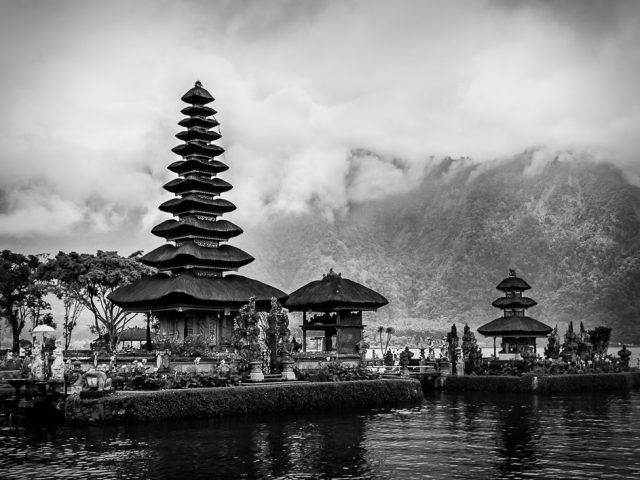
Another opportunity in which I choose to use black and white is on rainy days or days when the lighting is very flat. On days like this, the scene you are usually shooting doesn’t have that much distinction in the color, therefore, by removing it you are able to tell the story of the scene more powerfully.
When Color Isn’t Necessary
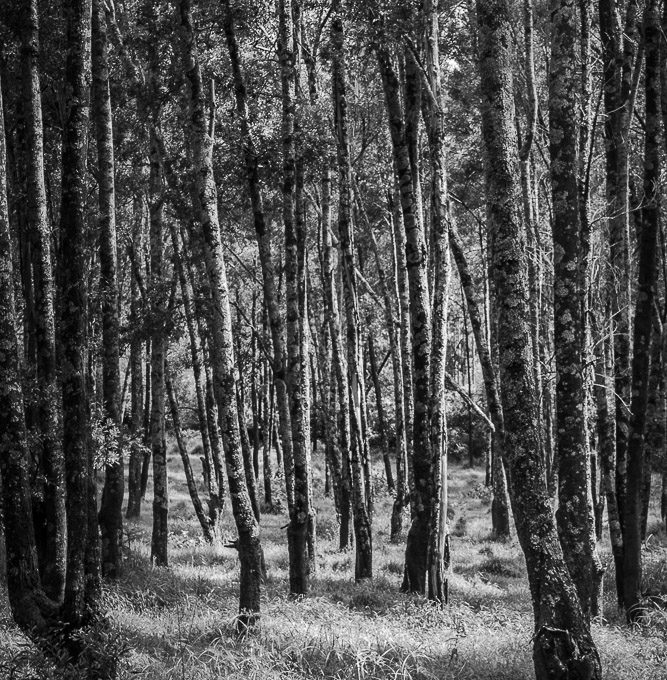
In the featured image at the top of the post, I chose to convert it to black and white because the color version didn’t really work. You see the trees and its surroundings are all green when you see it in color version below.
In my opinion, all of the green really didn’t tell the story of the woods that I wanted to convey. It failed to highlight the tonal contrast, the repeating patterns of the tree trunks and the texture of the whole scene.

However, this shot takes on a different quality when converted to black and white. Why? Well, it’s simply the fact that by removing the color, all that was hidden in becomes visible. We have a nice strong image where the trees and the shadows come alive.
To increase that aspect even further, I used a radial filter in Lightroom to add a vignette to the image to darken the corners and to brighten the center.
When the Light and Dark Collide Beautifully
When you find that you have some really nice contrast between the brightest parts of your image and the darkest parts of your image; you’ve discovered tonal contrast. Yes, that is as simple as that.
In these images, you will find a fantastic candidate for converting to black and white. The metal structure below not only has a beautiful contrast between the brightest parts of the image but in addition the sharp angles of the sculpture help to bring this out.

When You Have Flat Lighting
On one of my recent Instagram posts, I mentioned that flat light is a good time to use black and white photography. This was taught to me by the great Aida Muluneh during a photo walk in Addis Ababa.
For example, on rainy, cloudy days the light that you are shooting in will be very flat. There won’t really be many bright areas as the majority of your image is going to be gray. Therefore, processing or shooting in black and white will help you get a beautiful image
Creating Mood Using Black and White
This is probably one of my favorite uses of black and white photography. There are times when you simply want to create some mood in the image. You want to turn the scene into something that evokes more than just a nice view.

The picture above of The Shard in London is taken at mid-day and is bright. The sun is virtually overhead and is casting some really hard light all over the place. I decided that this might look good in black and white and so I created something moody that draws attention to The Shard.
In this image, I used a few graduated filters along the top and bottom of the image to darken the atmosphere. I then went ahead and added a radial filter with some increased exposure and clarity on The Shard. The combination of these selective adjustments creates a moody almost ominous atmosphere to the image.


