This post isn’t going to be a review of Aurora HDR in any way. Honestly, I don’t have the time nor the inclination to do a comparison of features, benefits over another program, etc… In a selfish way, I only want to know whether or not processing HDR images through Aurora HDR works for me or not.
In a selfish way, I only want to know whether or not processing HDR images through Aurora HDR works for me or not.
It’s been a while since I processed some HDR images. Not for a lack of wanting to but because I recently moved from a PC to a Mac and I no longer have what I have been used to at my fingertips.
You see, when using my PC I used to use Photomatix for all the HDR tone-mapping. Photomatix is a great program for this and there isn’t a reason to not use it on a Macbook; however, as with all things new, there is something newish on the block; Aurora HDR.
The New Kid on the Block
Aurora HDR, was designed in collaboration with Trey Ratcliff and the pretty amazing team at Macphun. Since the software was released about a year ago, I have been keen to try it out but alas no Windows version.
Luckily, since moving over the to a MacBook Pro earlier this year, it’s now something I can try out. Yes, that is a topic for another time, but I am now using one of the newer 2016 MacBook Pros with touchpad for all my work.
Since its release, there has already had a major update to the latest 2017 version. This new version has taken account of a lot of feedback from the 650k+ users and now, according to the Aurora HDR website includes:
- Speed Improvements of up to 50%
- A new Polarize Tool to help adjust just the sky
- Batch Processing for even greater workflow efficiency
- HDR Noise Reduction improvements
- Top and Bottom Adjustments tool that has been improved – I’m looking forward to trying this out.
- and much more
Back to Aurora HDR
I exported all my images from Lightroom after doing a little bit of preparation work. On the set of images I chose to try out, I did the following basic adjustments and ensured they were synchronized across all exposures:
- Set a white balance
- Set the camera profile
- Aligned to the horizon – I guess my camera was not set very straight

Then from the first screen, I chose to upload the JPEGs which I had just exported. Couldn’t be easier. All of the images were correctly identified for their exposure compensation. This is something that Photomatix used to get wrong times which annoyed me. Next step, click Create HDR et voila.

Processing the HDR Image Further
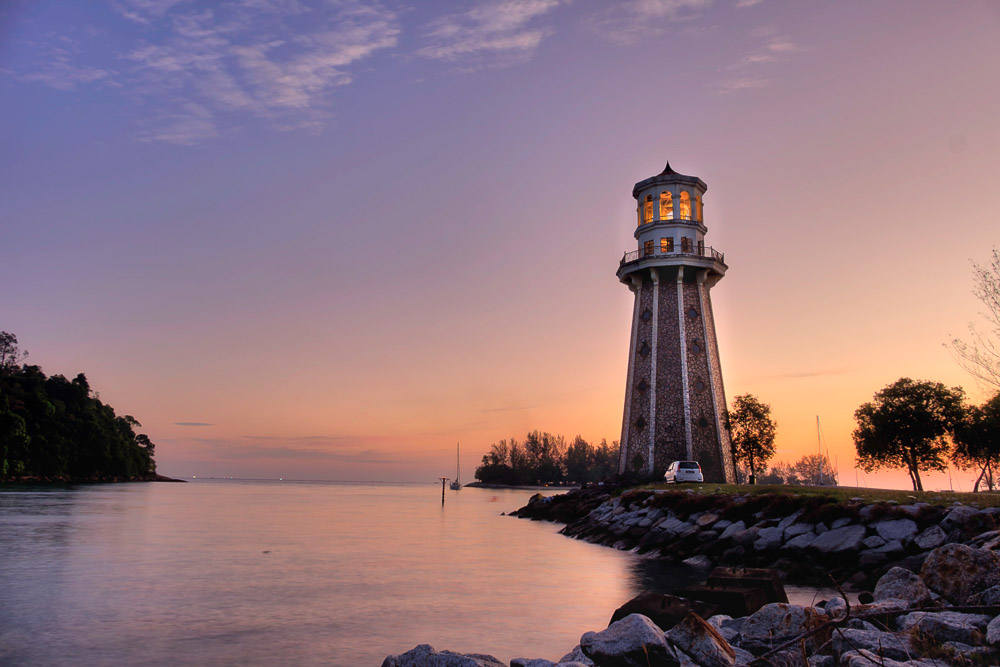
Looking at the base HDR after Aurora did its magic, it doesn’t look too bad. However, there were a number of things that I wasn’t too happy about that needed some attention.
- The biggest one was the slightly overly-HDR look which I really wanted to change. I would if I could have a much more realistic look to my image.
- I also needed to tone down some of the halo-ing that was going on around the lighthouse.
- The image also needed a little bit more exposure just to bring a few more of the details out a bit.

Other than that I was pretty happy with the image. I would say a pretty decent output for a first time process using Aurora HDR. Overall, I would say that this is going to be a program that I will probably experiment a lot more with.
BTW, if you want your own copy of Aurora HDR please use my affiliate link below. It will not cost you anything more that normal, but I get a little cut from the sale. Also if you’re interested in an HDR tutorial, then I would recommend Trey Ratcliff’s tutorial that I mentioned in a previous article.