Trey Ratcliff is a “Bwas” when it comes to modern photography and specifically HDR. This guy is killin it and at the same time being such a cool dude and teaching a lot of what he knows, most of the time for free. After discovering Trey, reading his free tutorial and trying HDR for the first time, it didn’t take me long to purchase his full HDR tutorial.
The course is advertised for all skill levels. It’s true!
It is really for everyone, from beginners to more advanced photographers. With this tutorial, you get excellent insight into all the techniques Trey use’s today to create his images. This means that if you need to learn the step by step approach or want to understand the artistic decisions that Trey is taking, this tutorial will not only guide you but give you a behind-the-scenes look at the all important workflows.
Really, from beginners to more advanced photographers, there is something to get out of this tutorial. With this tutorial, you get excellent insight into all the techniques Trey use’s today to create his images.
This means that if you need to learn the step by step approach or want to understand the artistic decisions that Trey is taking, this tutorial will not only guide you but give you a behind-the-scenes look at the all important workflows.
There’s an updated version of his Complete HDR tutorial available for Mac Users and Windows Users that is currently on sale for a bargain price considering all the gold that is included within it.
Who should buy this course?
The answer is simple. Virtually everyone, unless you are Trey himself.
If you’re starting off in photography and want to learn a new technique, this is for you.
If you’re already enjoying photography, have dabbled in HDR before but not really spent time on it; then this is for you too.
Seriously, there is a lot to learn in this tutorial and you will not be disappointed. The one group of individuals who might not enjoy the course are those that have considerable experience in HDR already or have mastered exposure blending in Photoshop.
Seriously, there is a lot to learn in this tutorial and you will not be disappointed. The one group of individuals who might not enjoy the course are those that have considerable experience in HDR already or have mastered exposure blending in Photoshop or simply hate the idea of post-processing an image. If that’s not you, then continue reading.
HDR Tripping
I’ll be honest, when I started to really explore digital photography I had no idea what HDR was, let alone who Trey Ratcliff is. My photography was safe, I didn’t try too many difficult techniques and I didn’t really mess around with post-processing that much either. Safe to say that after seeing a few of Trey’s photos, I knew I wanted to learn the techniques this dude was using. I wanted to learn how to use the software, the camera, and my brain in a way that I had never done before.
Safe to say that after seeing a few of Trey’s photos, I knew I wanted to learn the techniques this dude was using. I wanted to learn how to use the software, the camera, and my brain in a way that I had never done before.
I bought this course and I went wild. Every image I took was an attempt to try this technique. some of those images were successful and others were, well, a little trippy. I had overdone it, and fallen into the trap of creating something that was pretty crap.
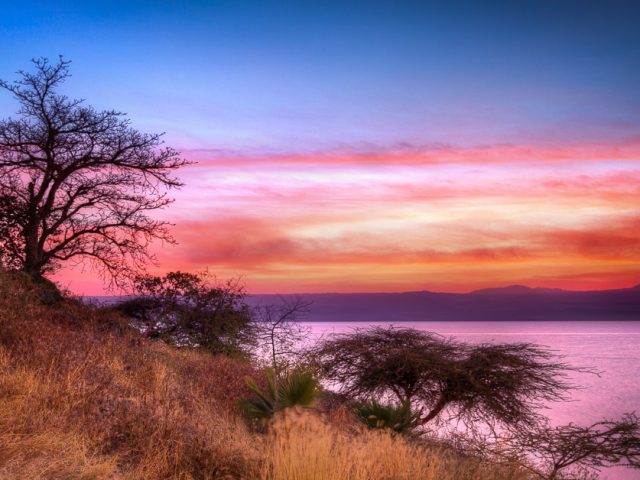
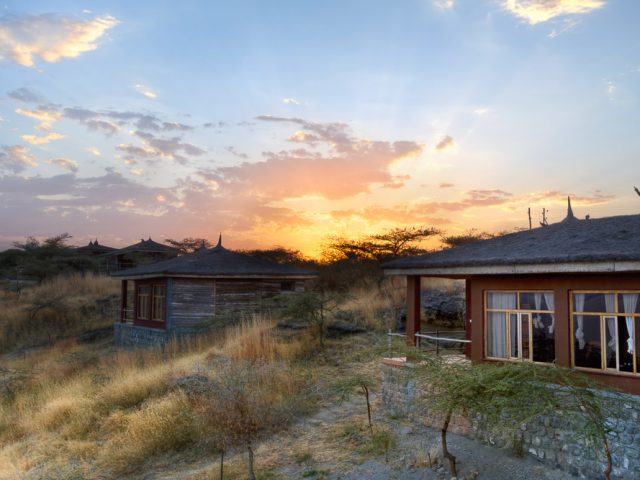
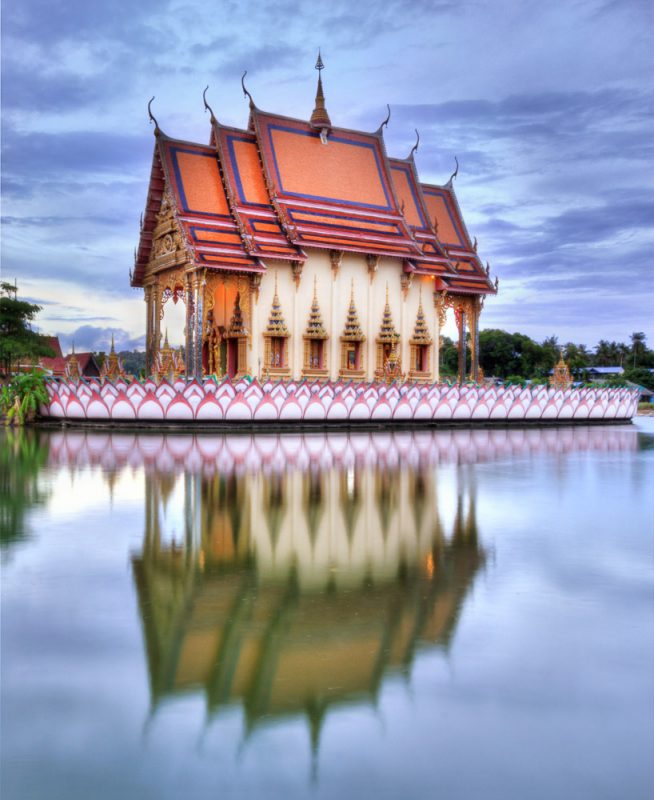
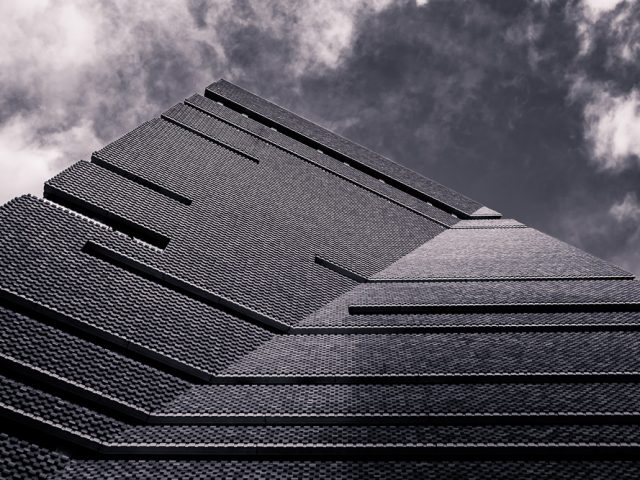
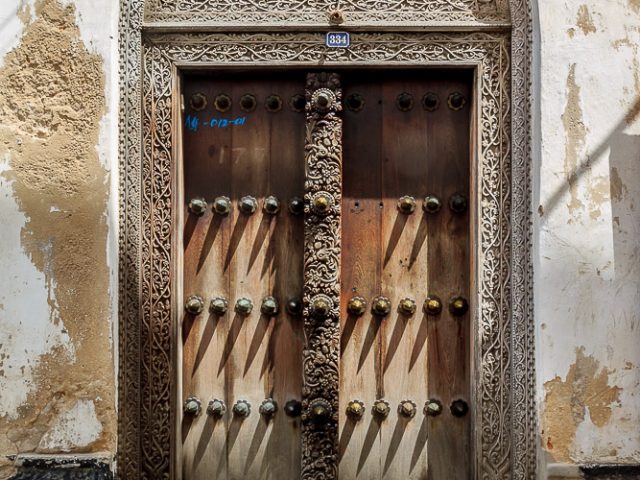
But as time has gone on and I’ve taken the lessons and tips that Trey has shared, I think I am now beginning to create some pretty awesome HDR images, for example, the featured image of this post and the one posted below, I’ve ever created (I’m hoping that there are much more to come).
The Course Itself
The course begins with the fundamentals and really tries to teach you the concept and the reasons for shooting for HDR. The concept of HDR is very straight forward, take multiple images at different exposures (for example -2,-1,0,+1,+2) to ensure you have enough of the light spectrum to create a highly dynamic image.
What the hell does that mean?
Well, it’s simple, you want to be able to create a picture where both the dark areas and the light areas are exposed in such a way that you don’t lose their details. In this way, you get to have a nicely balanced image in what would have otherwise been a picture that has too much shadow or blown out highlights (the brighter parts of the image).
The Curriculum
Once you pay and download the HDR Tutorial, it is split into 9 video lessons, each with its own key takeaway. Each of these lessons also comes with Trey’s own images, about 130 of these RAW bad boys, for you to experiment with; which I can assure you helps you imagine what is possible.
Trey is a fantastic teacher and I can honestly say that after completing this course and playing with the files that he provided in the course I knew that I had a basic grasp of the technique. Believe me, this course is in-depth and will give you the best foundation for continuing to explore on your own.
Secondly, the post processing lessons are simply a great way to learn not only Lightroom but also Photoshop. Both of these programs are simply fantastic tools in a photographer’s arsenal of gear. There are of course a bunch of other programs that he uses in the course but these have been updated in his new course to include Photomatix for windows users and Aurora HDR for Mac users.
My Final Two Cents
If you’re looking to get started into HDR then this tutorial course is a fantastic investment to make. It really doesn’t matter what level of photographer you are either, I guarantee you’ll learn something from this.
However, there are a few caveats that you should know before shelling out some cash. The course itself isn’t going to be enough. You do need to buy some software and depending on whether you’re on a Windows or a Mac there are different options. However, there is currently a great package available for Mac users where you can get the Tutorial and Aurora HDR as a bundle for a great price.
Another slight, very slight, negative on the tutorial is that it can get a little long winded if you already know a considerable amount of how to handle your in camera settings and you have a good grasp on post processing techniques. In this case, I would advise you to skip through some of the video aspects and focus on the post-processing techniques that you can practice.
Other than that, if you want to learn about HDR then I can not recommend this course anymore except by saying this will be the best money you have spent in a while. You will not only learn so much about how a great artist thinks but also a considerable amount of technique that you can then apply to all areas of your photography and post-processing.
Since taking his course and buying a number of his other products, I also become an affiliate for Trey and his products. This means that if you buy the course I will get a small commission that doesn’t cost you anything additional, but I also get to pass on some additional savings to you as a result.
And right now with a sale of 50% going on at Stuck in Customs the and the additional 10% discount you get if you use the following discount code you are not going to regret it. In fact, it is criminal not to take advantage of this as you’ll be investing under $50 and gaining a priceless education.
| Discount Code:
SIC-7368 |
If you’re still not convinced, here’s a preview of the course, guaranteed to whet your appetite:


Pingback: Processing HDR Images Using Aurora HDR 2017 ~ Gideon Abate Photography